In recent years, the beauty industry has witnessed a surge in innovative products that empower individuals to bring salon-quality experiences to the comfort of their homes. One such game-changer is the introduction of gel nail strips, offering an easy and affordable way to achieve professional-looking nails without leaving your doorstep. In this blog post, we'll explore the wonders of gel nail strips and provide you with a step-by-step guide on mastering the art of DIY nails at home.
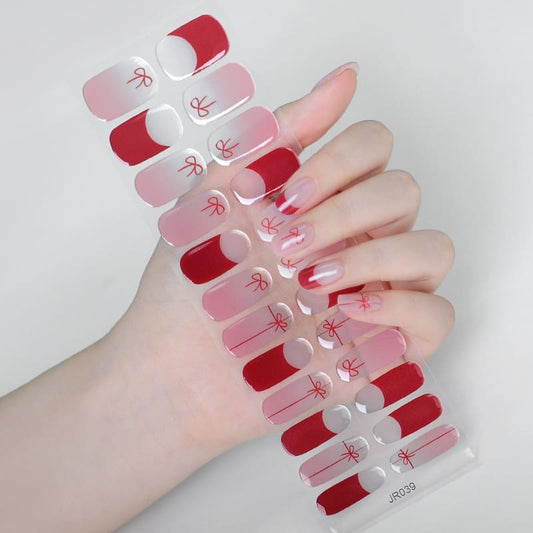
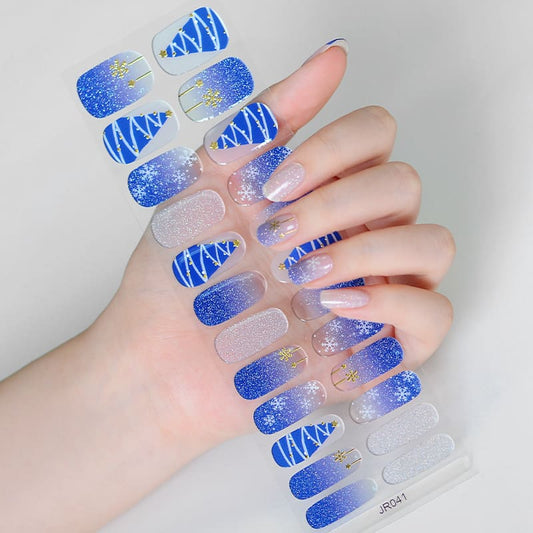
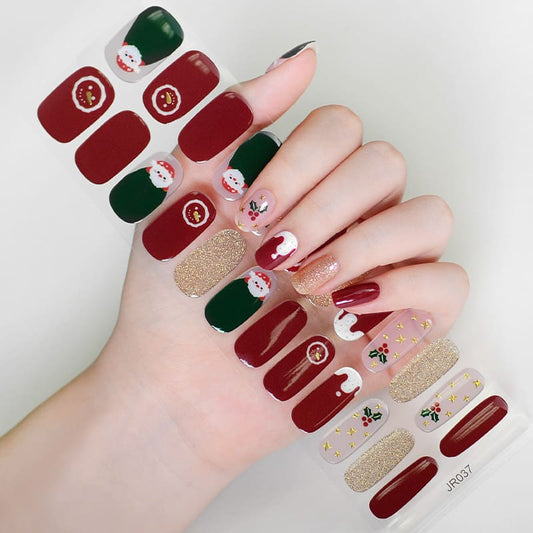
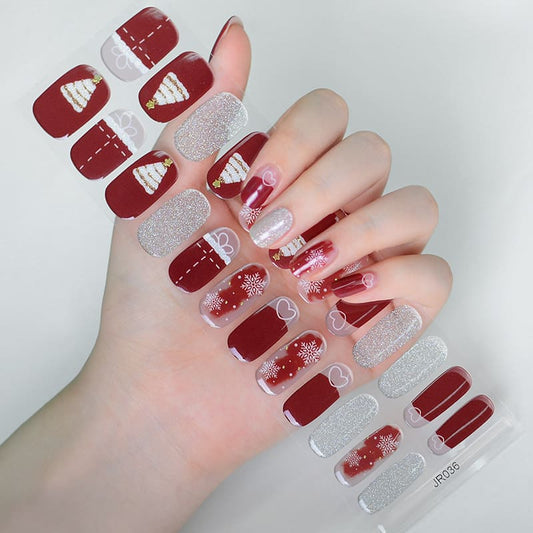
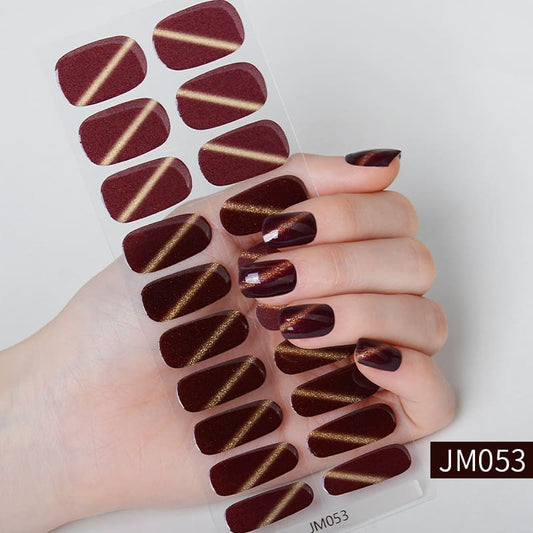
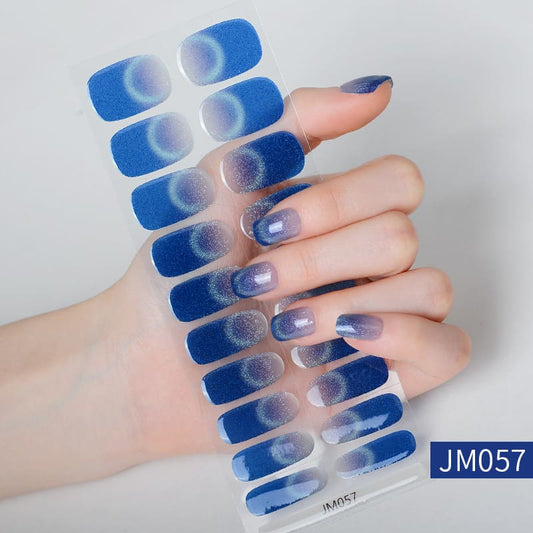
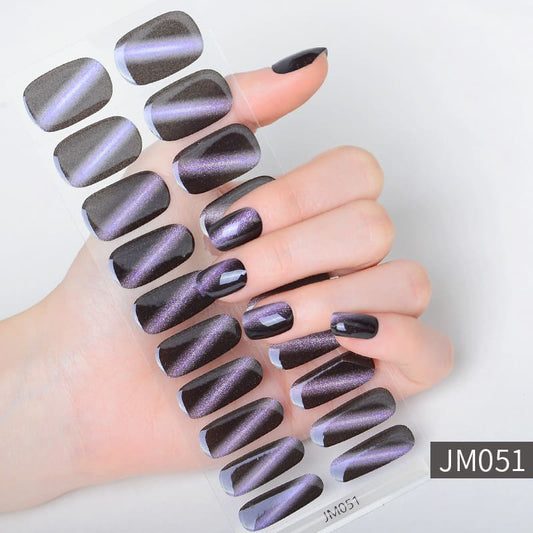
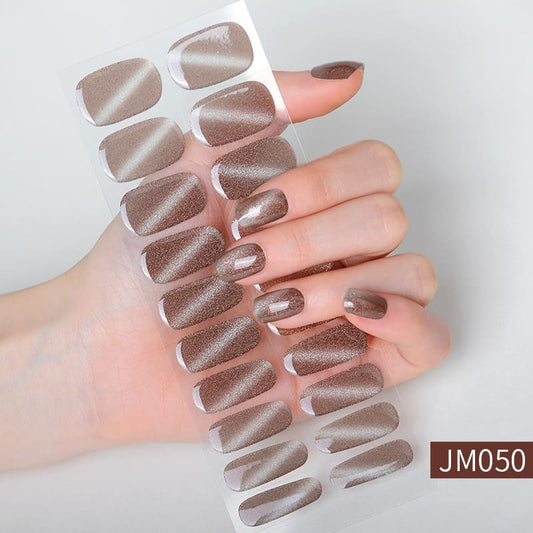
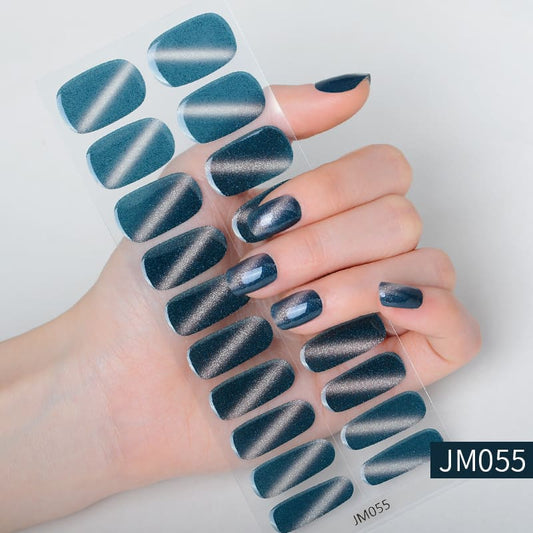
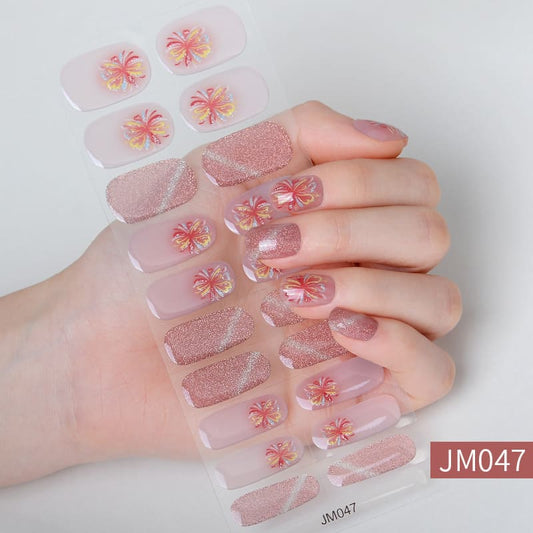
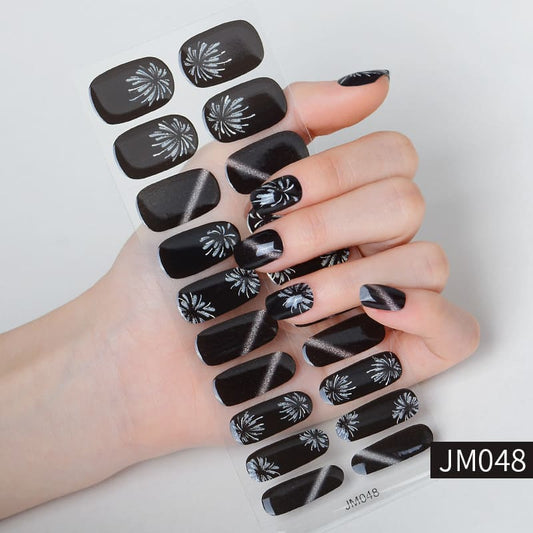
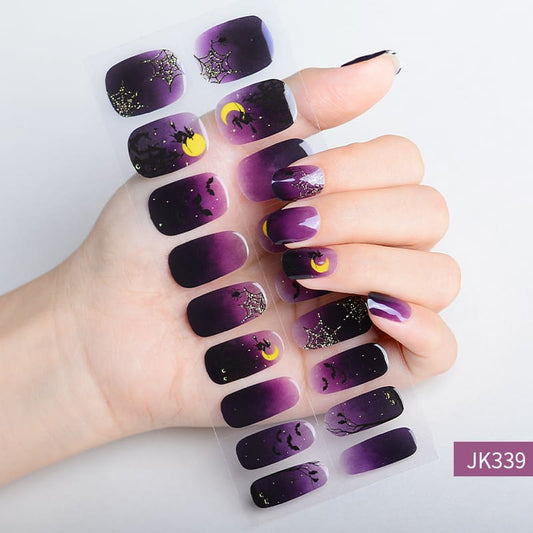
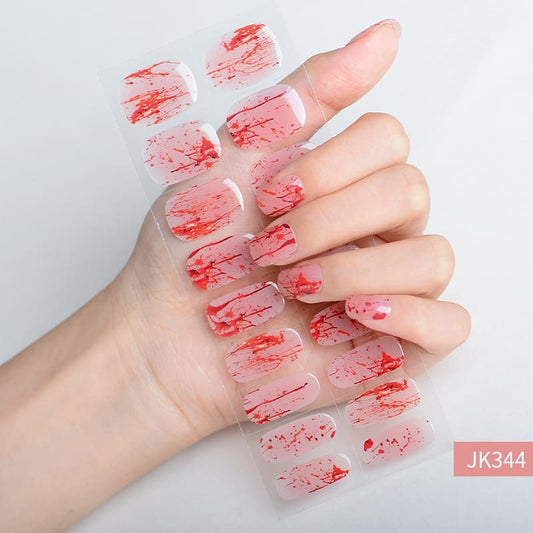
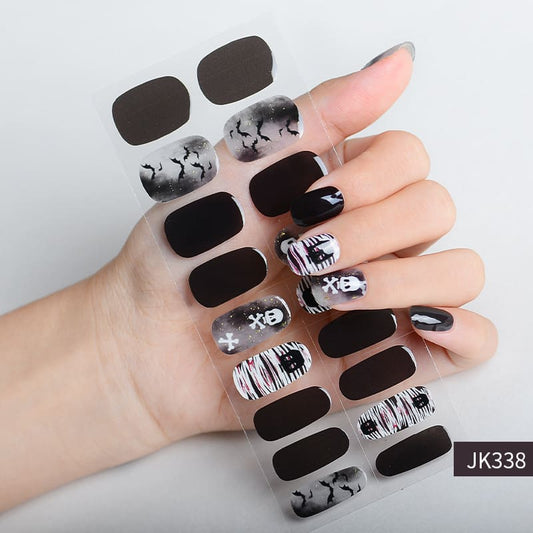
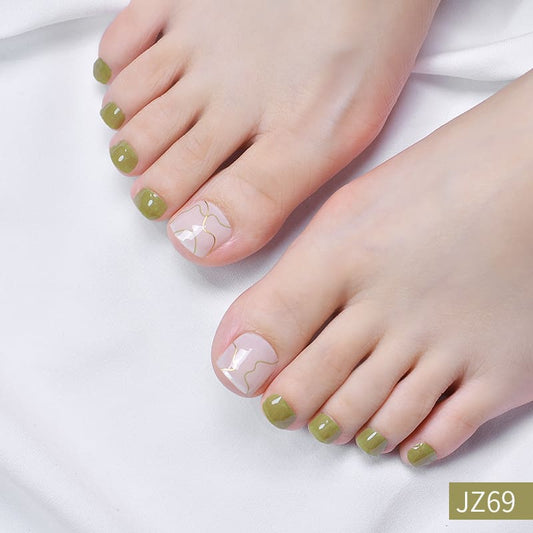
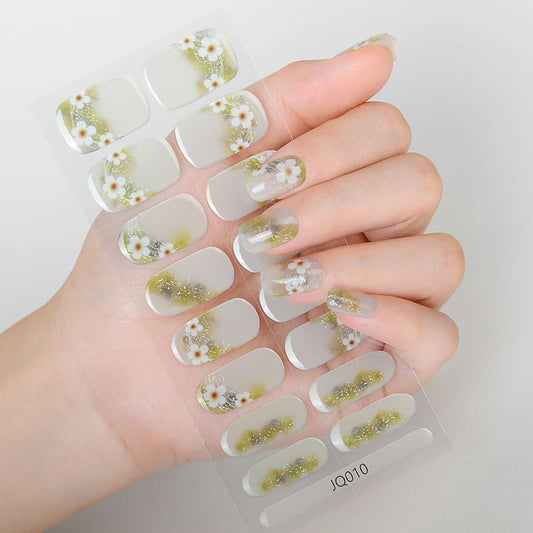
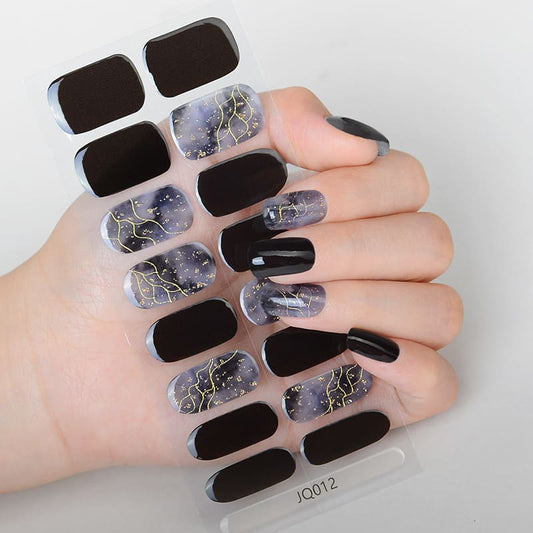
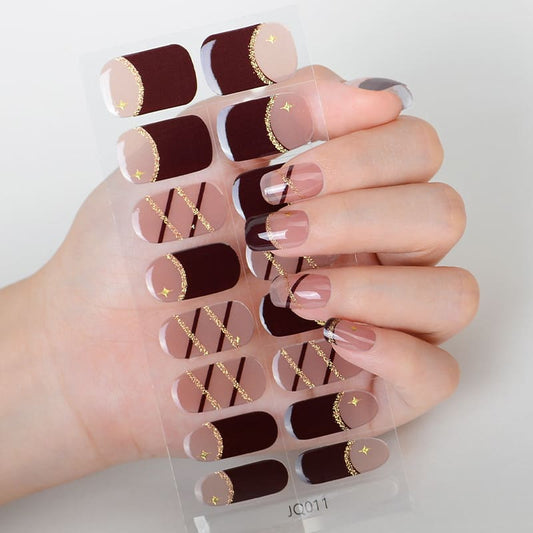
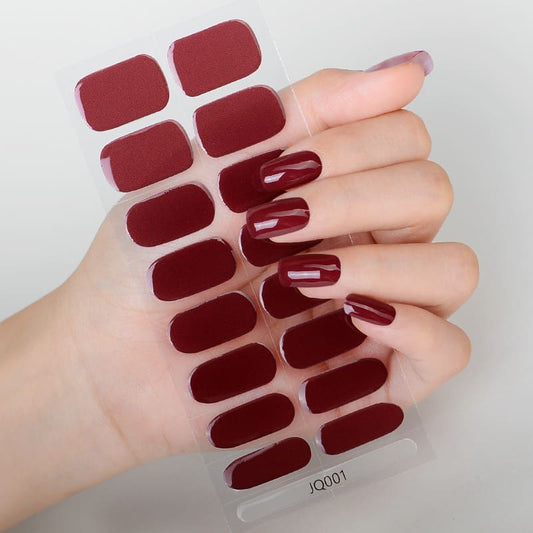
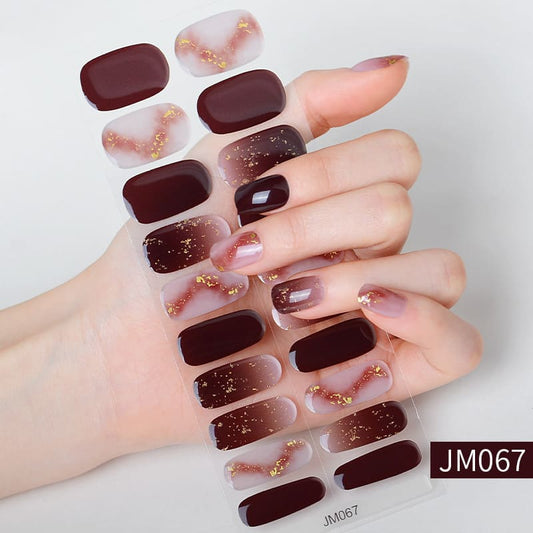
Gel nail strips have taken the beauty world by storm, revolutionizing the way we approach nail care. Unlike traditional nail polish, gel nail strips are pre-designed and come with an adhesive backing, making them incredibly easy to apply. The strips are available in an array of colors, patterns, and designs, allowing you to experiment with various looks without the commitment of traditional gel nails.
Advantages of Gel Nail Strips:
1.Convenience: Gel nail strips eliminate the need for time-consuming salon appointments. Achieve salon-quality nails in the comfort of your home, saving both time and money.
2.Durability: Gel nail strips are known for their long-lasting wear compared to regular nail polish. Enjoy chip-free, glossy nails for up to two weeks.
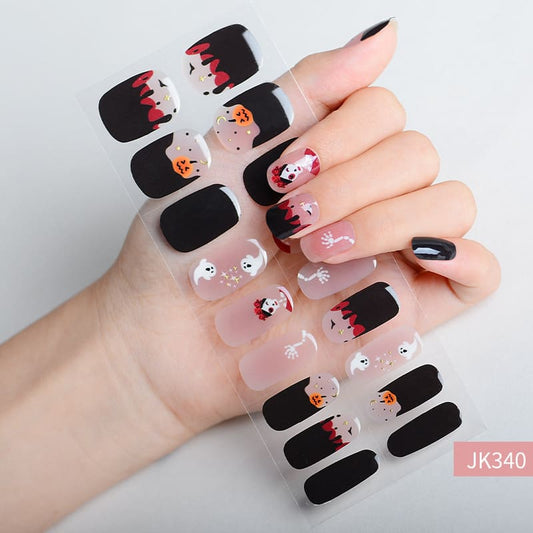
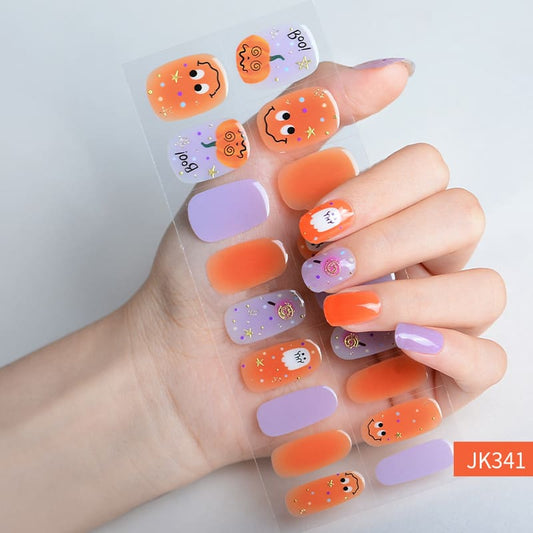
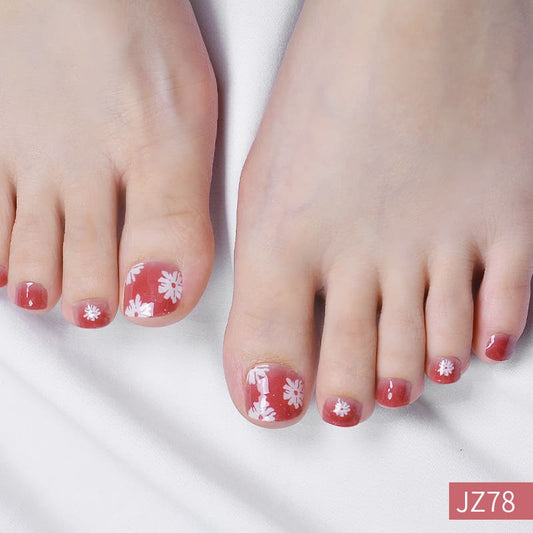
3.Variety: From classic solid colors to intricate designs, gel nail strips offer an extensive range of options to suit every style and occasion.
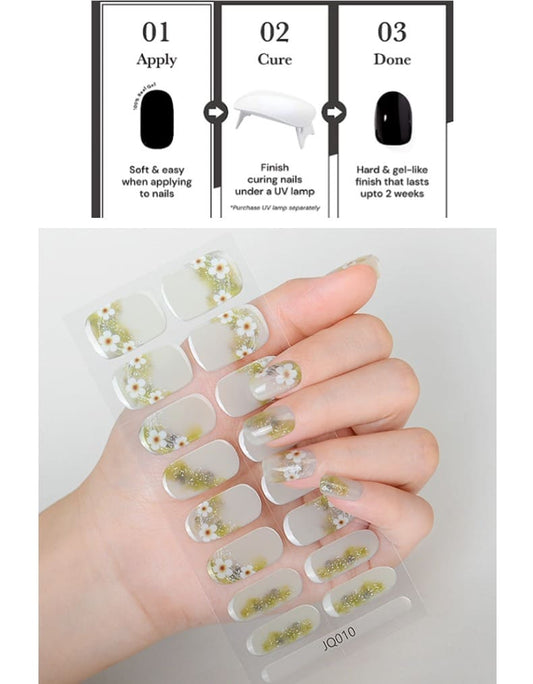
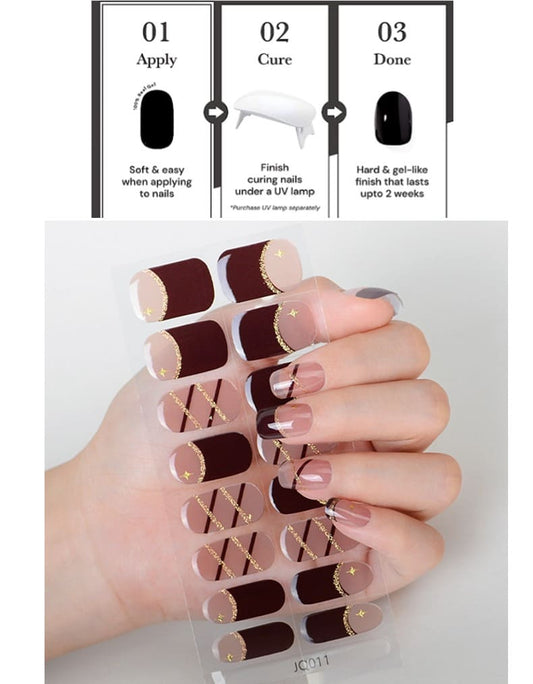
DIY Gel Nails: Step-by-Step Guide :
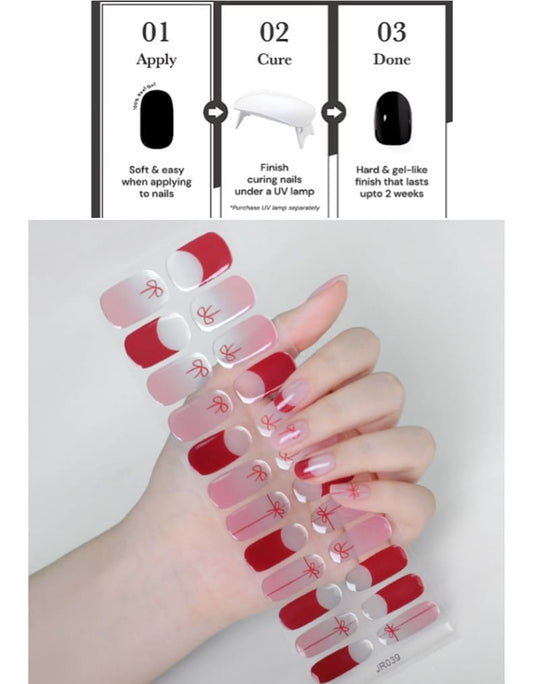
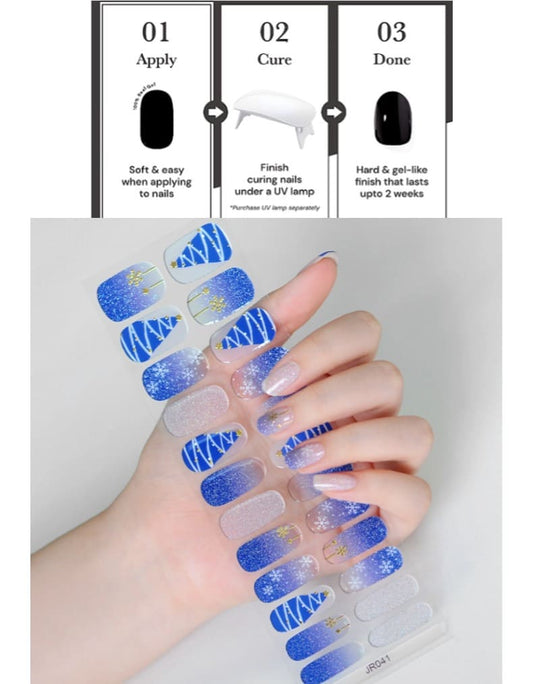
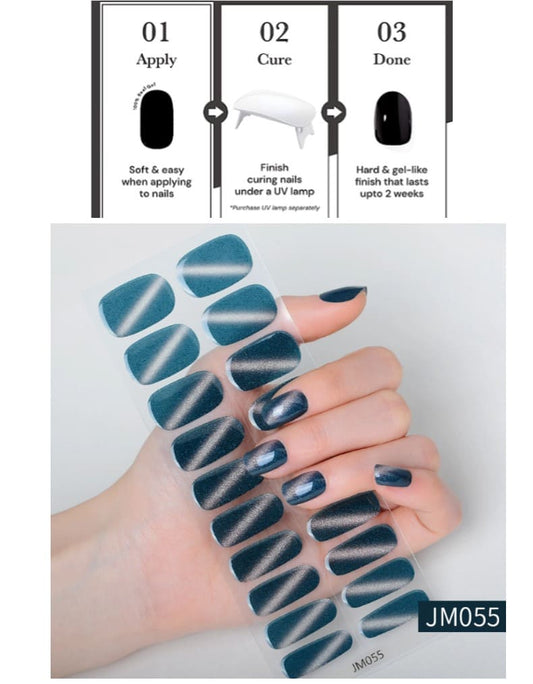
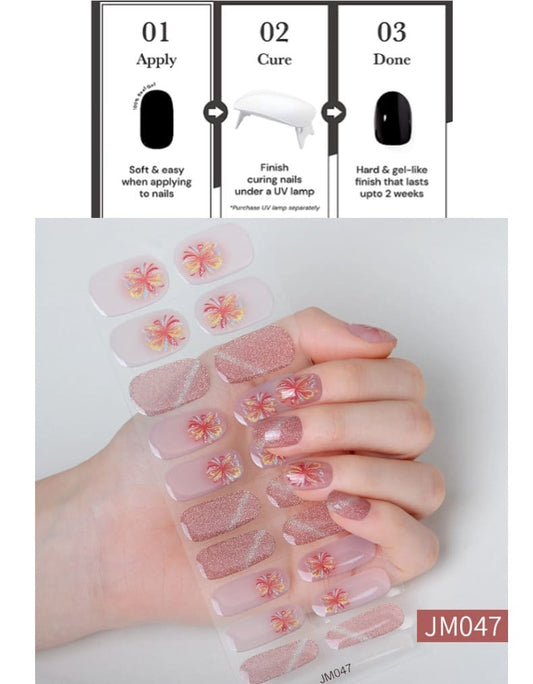
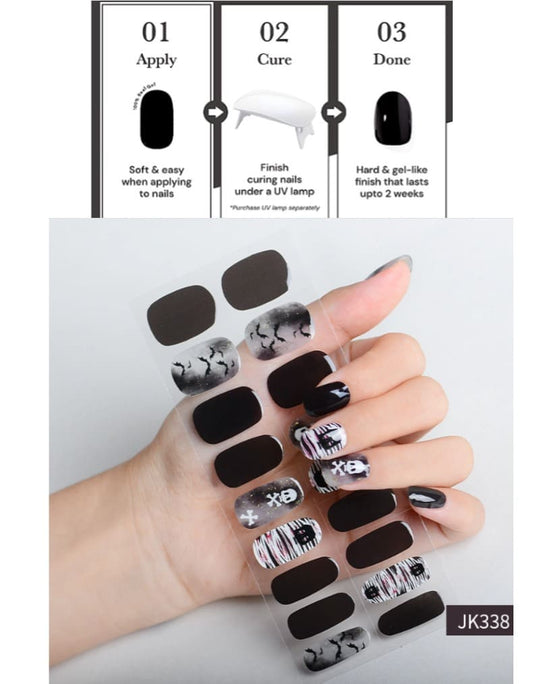
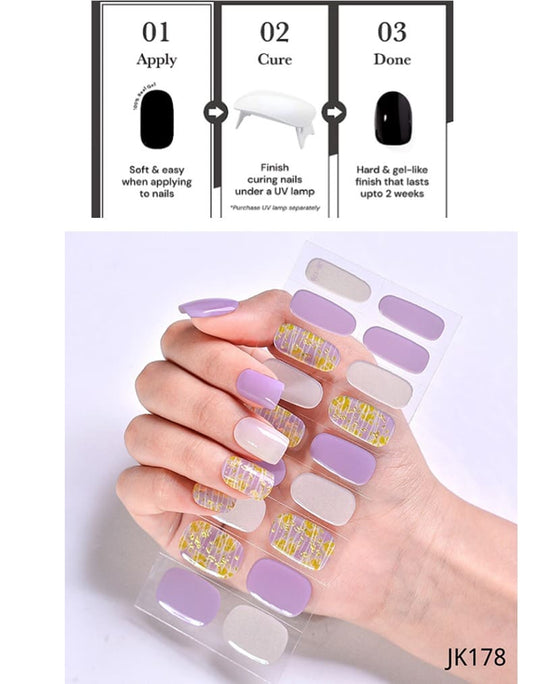
1.Prepare Your Nails: Start with clean, dry nails. Remove any existing polish and shape your nails using a nail file.Push back your cuticles gently for a neat appearance.
2.Choose Your Gel Nail Strips:Select your desired gel nail strips, ensuring they match the size of your nails. Consider mixing and matching different strips for a customized look.
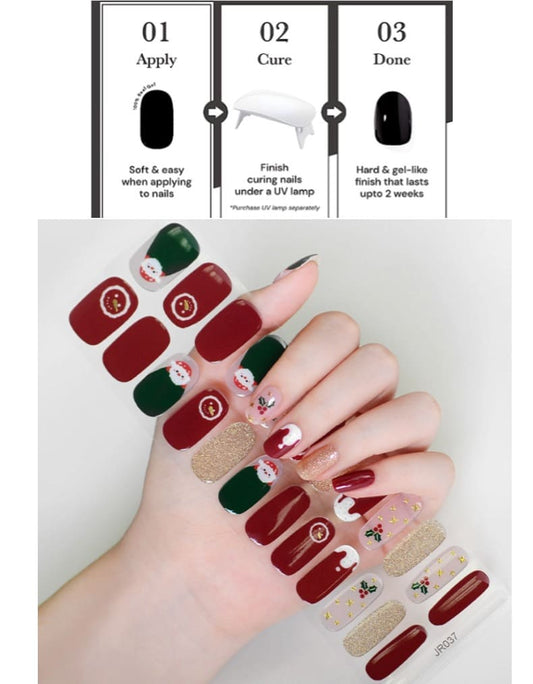
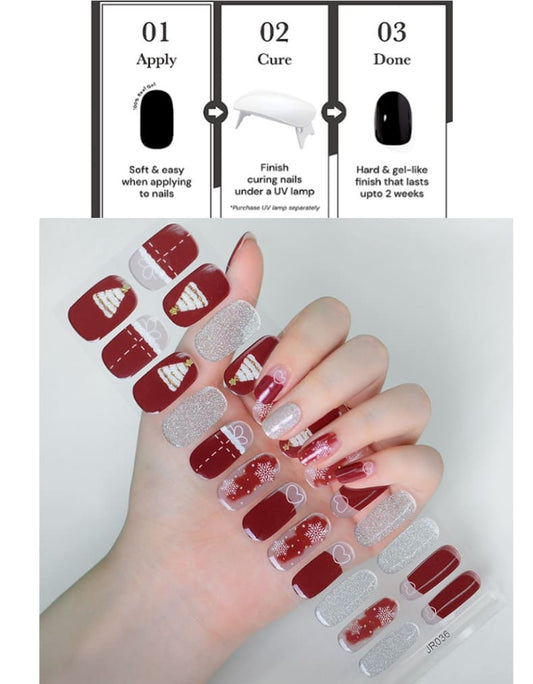
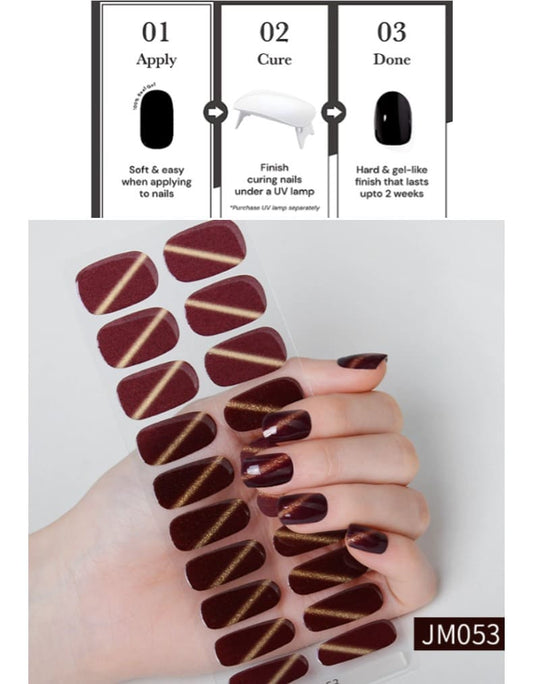
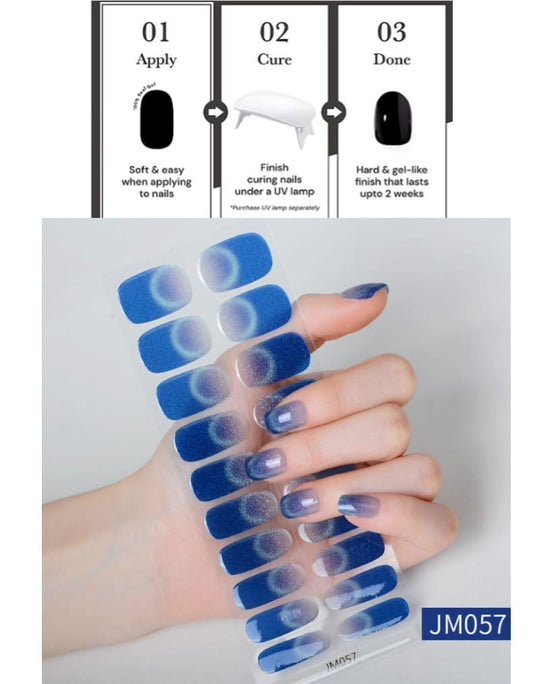
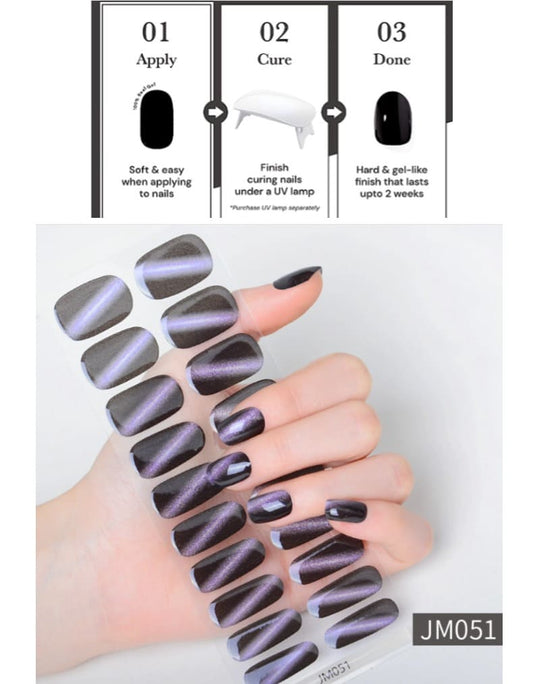
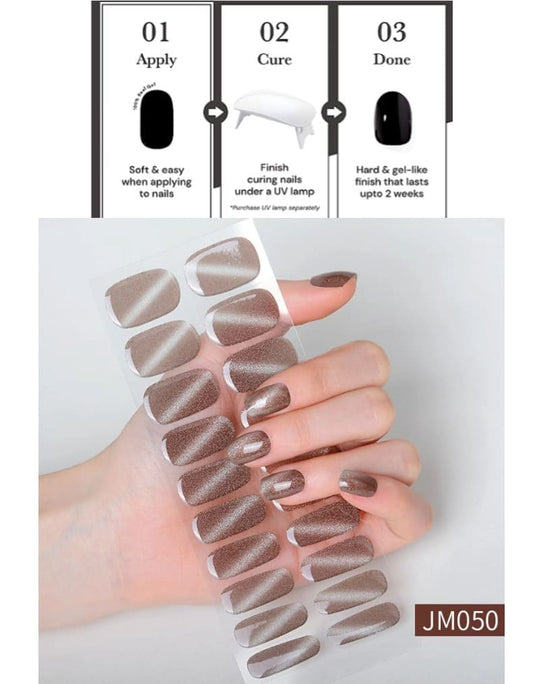
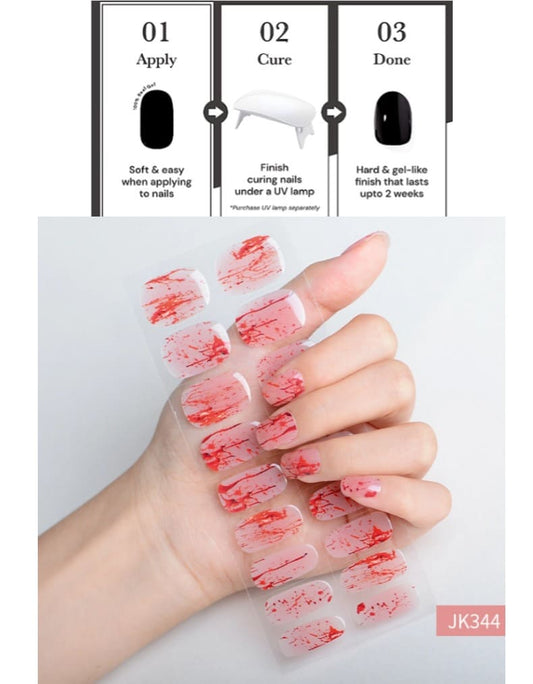
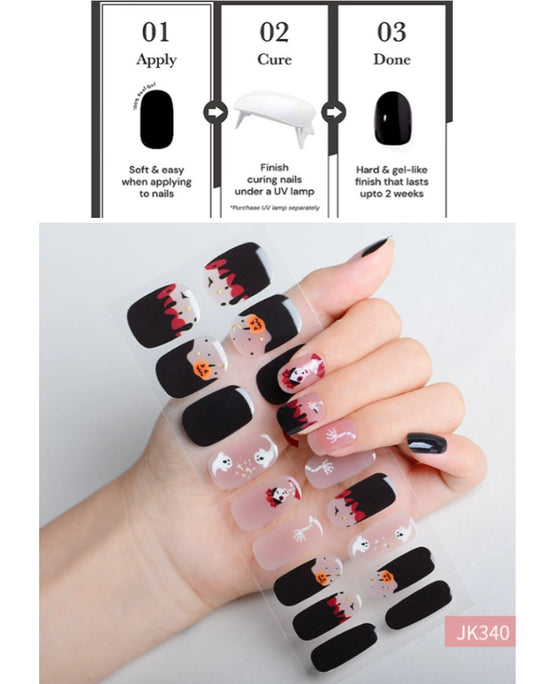
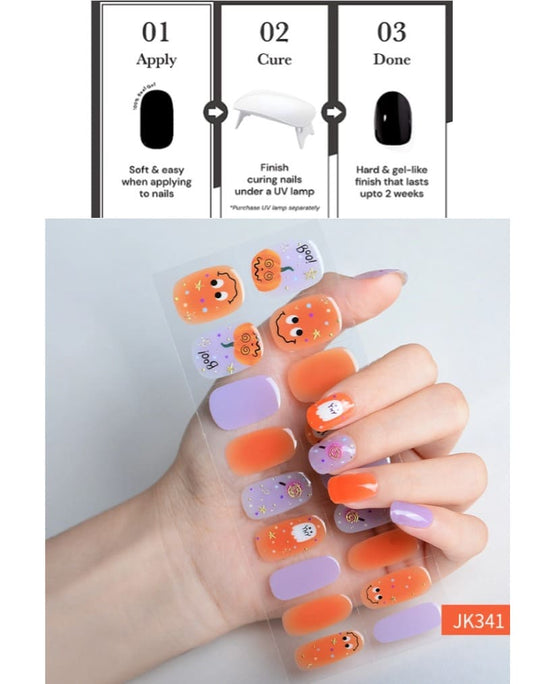
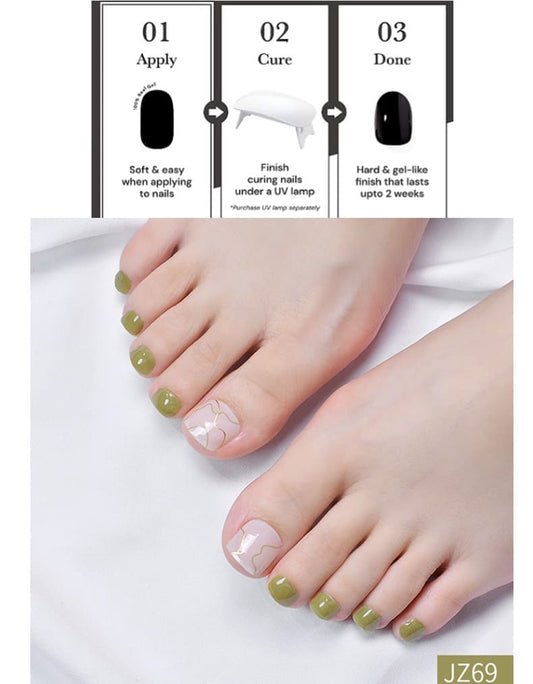
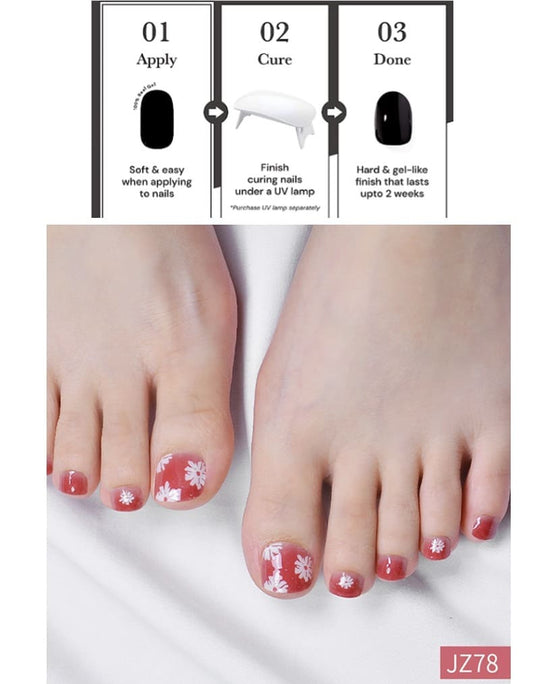
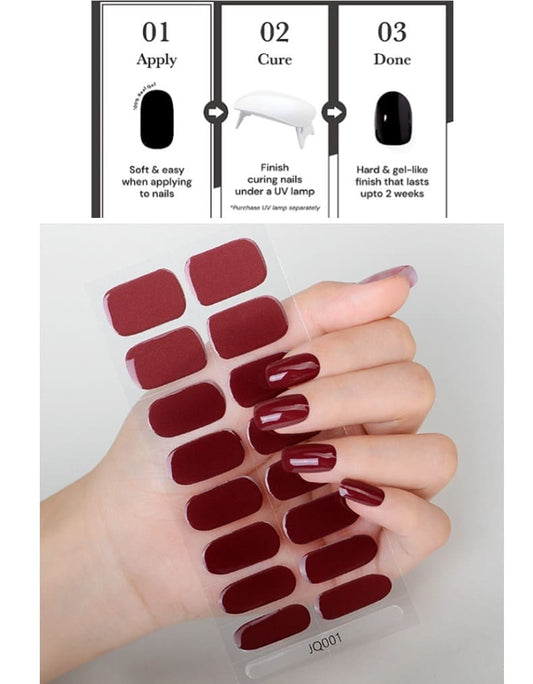
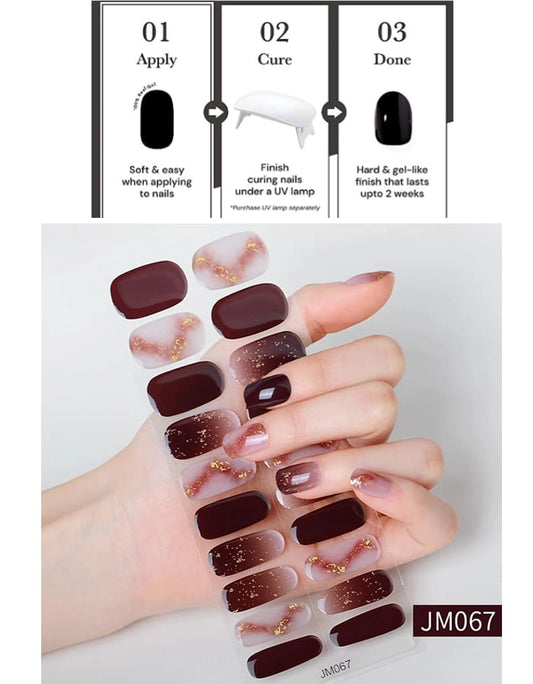
3.Application: Peel off the protective film from the gel strip. Carefully place the strip onto your nail, starting from the cuticle and smoothing it towards the tip. Use a cuticle pusher or a rubber-tipped tool to eliminate any air bubbles and ensure a snug fit. T
4.Trim and Shape: Trim excess strip using nail scissors or a nail file for a perfect fit.Shape the edges to match your nail contour.
5.Activate the Adhesive:Use a nail lamp to cure the gel strips, activating the adhesive and ensuring a secure bond. Follow the recommended curing time provided by the gel strip manufacturer.
6.Final Touches: Apply a top coat for added shine and durability.(suggestion) Clean up any stray adhesive or polish using a precision brush and nail polish remover.
Conclusion: Say goodbye to salon appointments and hello to the convenience of DIY gel nails at home. Gel nail strips provide a fuss-free and affordable way to achieve a flawless, long-lasting manicure. Experiment with colors and designs, express your creativity, and enjoy professional-looking nails without ever stepping out the door. Elevate your nail game with gel nail strips and embrace the beauty of at-home nail care. Here is 10% off to you for saving money by using code NEW10,